How to make a cartoon with your child
Make a first cartoon with your child: plan three shots, pose a character, record a voice and save an MP4 on a tablet, phone or computer.
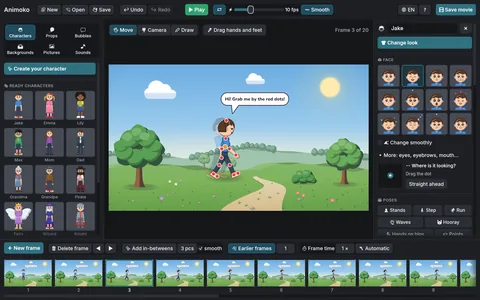
At the end you and your child will have a short cartoon with movement and your own voice, saved as an MP4. Allow 25–40 minutes for a first attempt, including a little rehearsal. Animoko is for ages 9 and up and works on a tablet, phone or computer: iPhone, iPad, Mac, Windows and Android. An adult can help with the first recording and choosing where to save the file.
Plan a story in three shots
Try “A surprise in the park”. First, a character arrives and looks around. Second, the character notices something off screen and raises a hand. Third, the character waves and says, “There you are!” Draw three small rectangles on paper and let your child decide what the surprise is. These are three story moments in one project; you do not need separate scene files.
Keep the background and hero the same throughout. A clear beginning, surprise and ending are enough for your first film. Let your child direct while you help find a control, then swap roles for the next shot.
1. Put a character on the stage
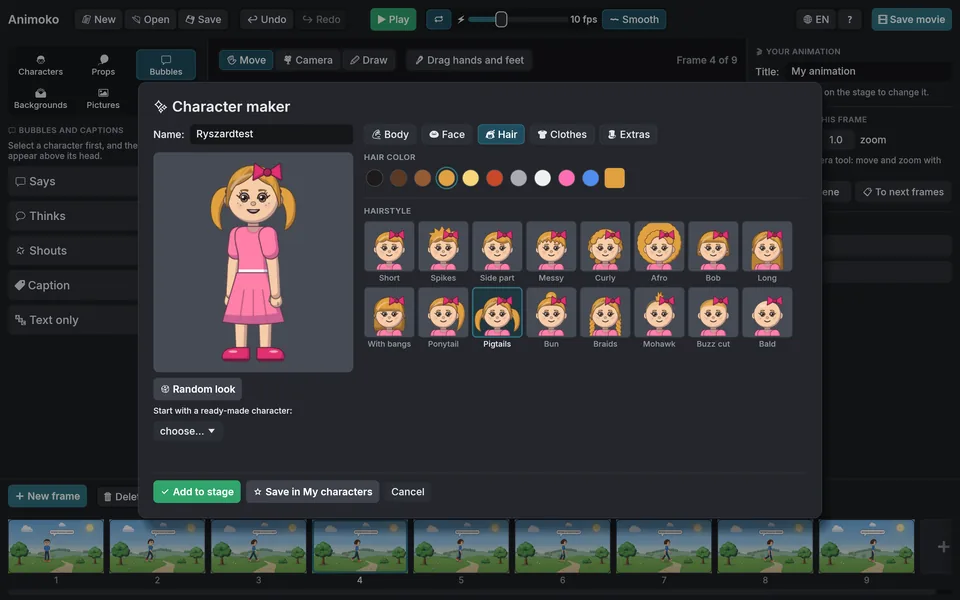
Open the Characters tab on the left. Under 🎭 Ready characters, click any character to add it to the stage. Want your own? ✨ Character maker lets you pick the face, hair, clothes and more — every choice is shown on the character right away.
2. Choose a background
Open the Backgrounds tab and click the park, the city, the beach — whatever fits your story. You can also use a plain colour or a picture of your own.
3. Strike a pose
With the ✋ Move tool, drag the character’s joints: an arm up, a knee bent. This is your first frame.
4. Add frames by hand
Click ➕ New frame at the bottom. The new frame starts as a copy of the last one, so change the pose just a little. Turn on 👻 Earlier frames to see a faint outline of the previous frame and keep the movement even.
Repeat a few times, then press ▶ Play at the top to watch.
5. Let the computer help
Now the shortcut. Click the character, and in the panel on the right find 🎬 Ready moves. Click 🚶 Walk: “The computer will make frames with movement after this frame.” Use Repeat to make the walk longer.
Two more helpers live at the bottom and top of the window:
- ✨ Add in-betweens draws the movement between the current frame and the next one.
- 〰 Smooth makes characters glide from one frame to the next instead of jumping. Turn it off for a classic stop-motion look.
The slider next to ▶ Play sets the speed in frames per second.
6. Give it a voice
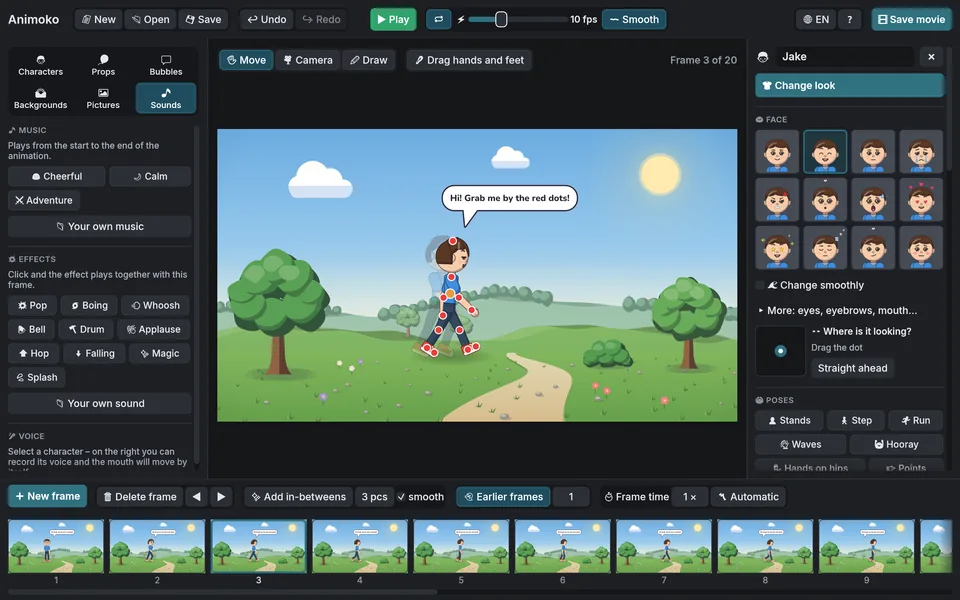
Select the speaking character and the frame where its line should begin. In its settings, press ⏺ Record voice, say the short line, then press ⏹ Stop recording. On a phone held upright, use ⚙ Settings to find the character controls. The mouth moves with the recorded voice during playback. Open Sounds for optional music or effects; keep these quieter than the dialogue.
7. Save the movie
Click 🎞 Save movie at the top. Choose 🎬 MP4 movie for a movie with sound, choose an export size and press 💾 Save. You can also choose 🎞 Animated GIF, but GIF has no sound. Play the exported file to check the ending before showing it to your family.
That’s it — your first film. Next time try a speech bubble, a camera move or a second character.
Touch screen and mouse tips
On iPad and Android, tap to select and drag to move a character or joint. Press and hold to open context menus. On a computer, click to select, drag with the mouse and right-click for those menus. On a small phone screen, open the panel you need before continuing on the stage.
Make one small change, play it back, then decide together what to adjust. If a hand covers a joint, lift your finger and check the result before dragging again. Undo lets you recover from an accidental change without starting the story over.
Find platform details on the Animoko page. Continue with animation without drawing or a cartoon with your own voice.